18 Jul 2023
Min Read
Create Stream Processing Pipelines with Superblocks and DeltaStream
In the previous installments of the DeltaStream 101 blog series, we’ve covered the basics of creating stores and defining different types of relations such as Streams, Changelogs and Materialized views on top of the data records in streaming stores. In this blog post, we look into how we can quickly create an application to explore and visualize real-time changes in our data via integrating DeltaStream with a third party data visualization platform such as Superblocks.
Let’s assume we are creating a live dashboard for a delivery company to let them track their vehicles and drivers in real-time. Each driver is identified via a unique identifier. Similarly, one can refer to a given vehicle using its unique ID. The company’s vehicles are equipped with sensors and GPS that keep sending various information about the vehicles to a configured streaming store, in this case an Apache Kafka cluster. The company is interested in tracking its drivers and vehicles, at any given time, via a live feed on a map, using either a vehicle’s or driver’s ID. The map shows the latest location of a vehicle based on its most recent speed and geographical location.
First, let’s take a look at an example of a “navigation record”, in the JSON format, which captures information about a driver, his/her vehicle along with its latest reported location in our system. A stream of such records, collected from different vehicles, is continuously ingested into a topic, called “navigation”, in a Kafka store.
Sample navigation record in Json
DSQL statements to access and query the data
As the first step, we need to create a “store” in DeltaStream to access the data in the Kafka topic that collects navigation records. We also assume we have already defined our database and schema. Our previous blog post covers details on how one can define them.
In order to query the data, we create a stream, called “navigation”. In DeltaStream, we use the “STRUCT” data type to define records with nesting, and the “ARRAY” data type is used to define an ordered collection of data items of the same type. As you can see in the DDL statement, shown in Statement 1 below, the navigation stream has two columns: ‘driver’ and ‘route’. The driver column’s data type is a struct, whose fields capture information on a driver’s ID, fullname, license_id and his/her car. The car field is defined as a nested struct, inside the driver’s struct, and shows various information about the driver’s car such as its id, model, etc. The route column lists a sequence of data items which report the latest location and speed of the driver’s car. Therefore, the data type for the route column is defined as an array of structs where each struct has two fields: location and speed. The location field is a nested struct containing latitude and longitude values, collected by the vehicle’s GPS, and the speed field is defined as integer.
Statement 1. DDL to define navigation stream.
Now that we can access the data in Kafka, using the navigation stream we just created, we run a CSAS statement to extract the columns and nested fields that are relevant to our application. We are going to query the latest navigation information about a driver or car, using their IDs. Hence, we need to select the driver’s ID and his/her car’s ID from the driver column. We also select the driver’s name to show it on the dashboard. We pick the first element of the route column to show the latest location and speed of the car on the map. We unnest location coordinates and show them as separate columns along with the speed in the new stream. As you can see in Statement 2, in DeltaStream the `->` operator is used to access fields of a struct. Moreover, given that arrays are one-indexed (i.e., the first element of an array is at index 1), route[1] is fetching the very first element from a given route array.
Statement 2. CSAS to define flat_data stream
For a given driver or car ID, we can run a query on the flat_data stream and get the latest relevant data we need to show on the map. We are going to use Superblocks to visualize the location of the queried drivers or cars. Currently, Superblock’s available APIs do not let us directly send the result of our query to update the map. We can achieve this by creating a materialized view on top of the flat_data stream. Moreover, given that we are only interested in the most recent location of a car or a driver, when showing it on the map, we need to make sure our materialized view ingests the data in the “upsert” mode. This way, if a new record is inserted into the materialized view for an existing driver or car id, it overwrites the current record and updates the materialized view. We can use a changelog in DeltaStream to interpret the records in a given topic in the upsert mode. You can use the DDL statement in Statement 3 to define such a changelog. We define the primary key for the changelog as a composite key, using the driver_id and car_id columns.
Statement 3. DDL to define navigation_logs Changelog
Our final step to prepare the data for Superblocks is creating a materialized view, called “naviagtion_view”, by selecting all records from the navigation_logs changelog defined above. Now, for a given driver or car id, we can run a simple filter query on the navigation_view to fetch the latest location coordinates and speed of the queried driver or car. This query’s result is directly usable by Superblock to update the map on our dashboard.
Statement 4. Statement to define navigation_view Materialized View
Visualize the data using Superblocks
Now, let’s use Superblocks to visualize the location of drivers and cars on a map, in real time. We can achieve this by creating an application in Superblocks which fetches the latest location of a driver or car from the naviagation_view Materialized View, we defined above.
Generate API Token in DeltaStream
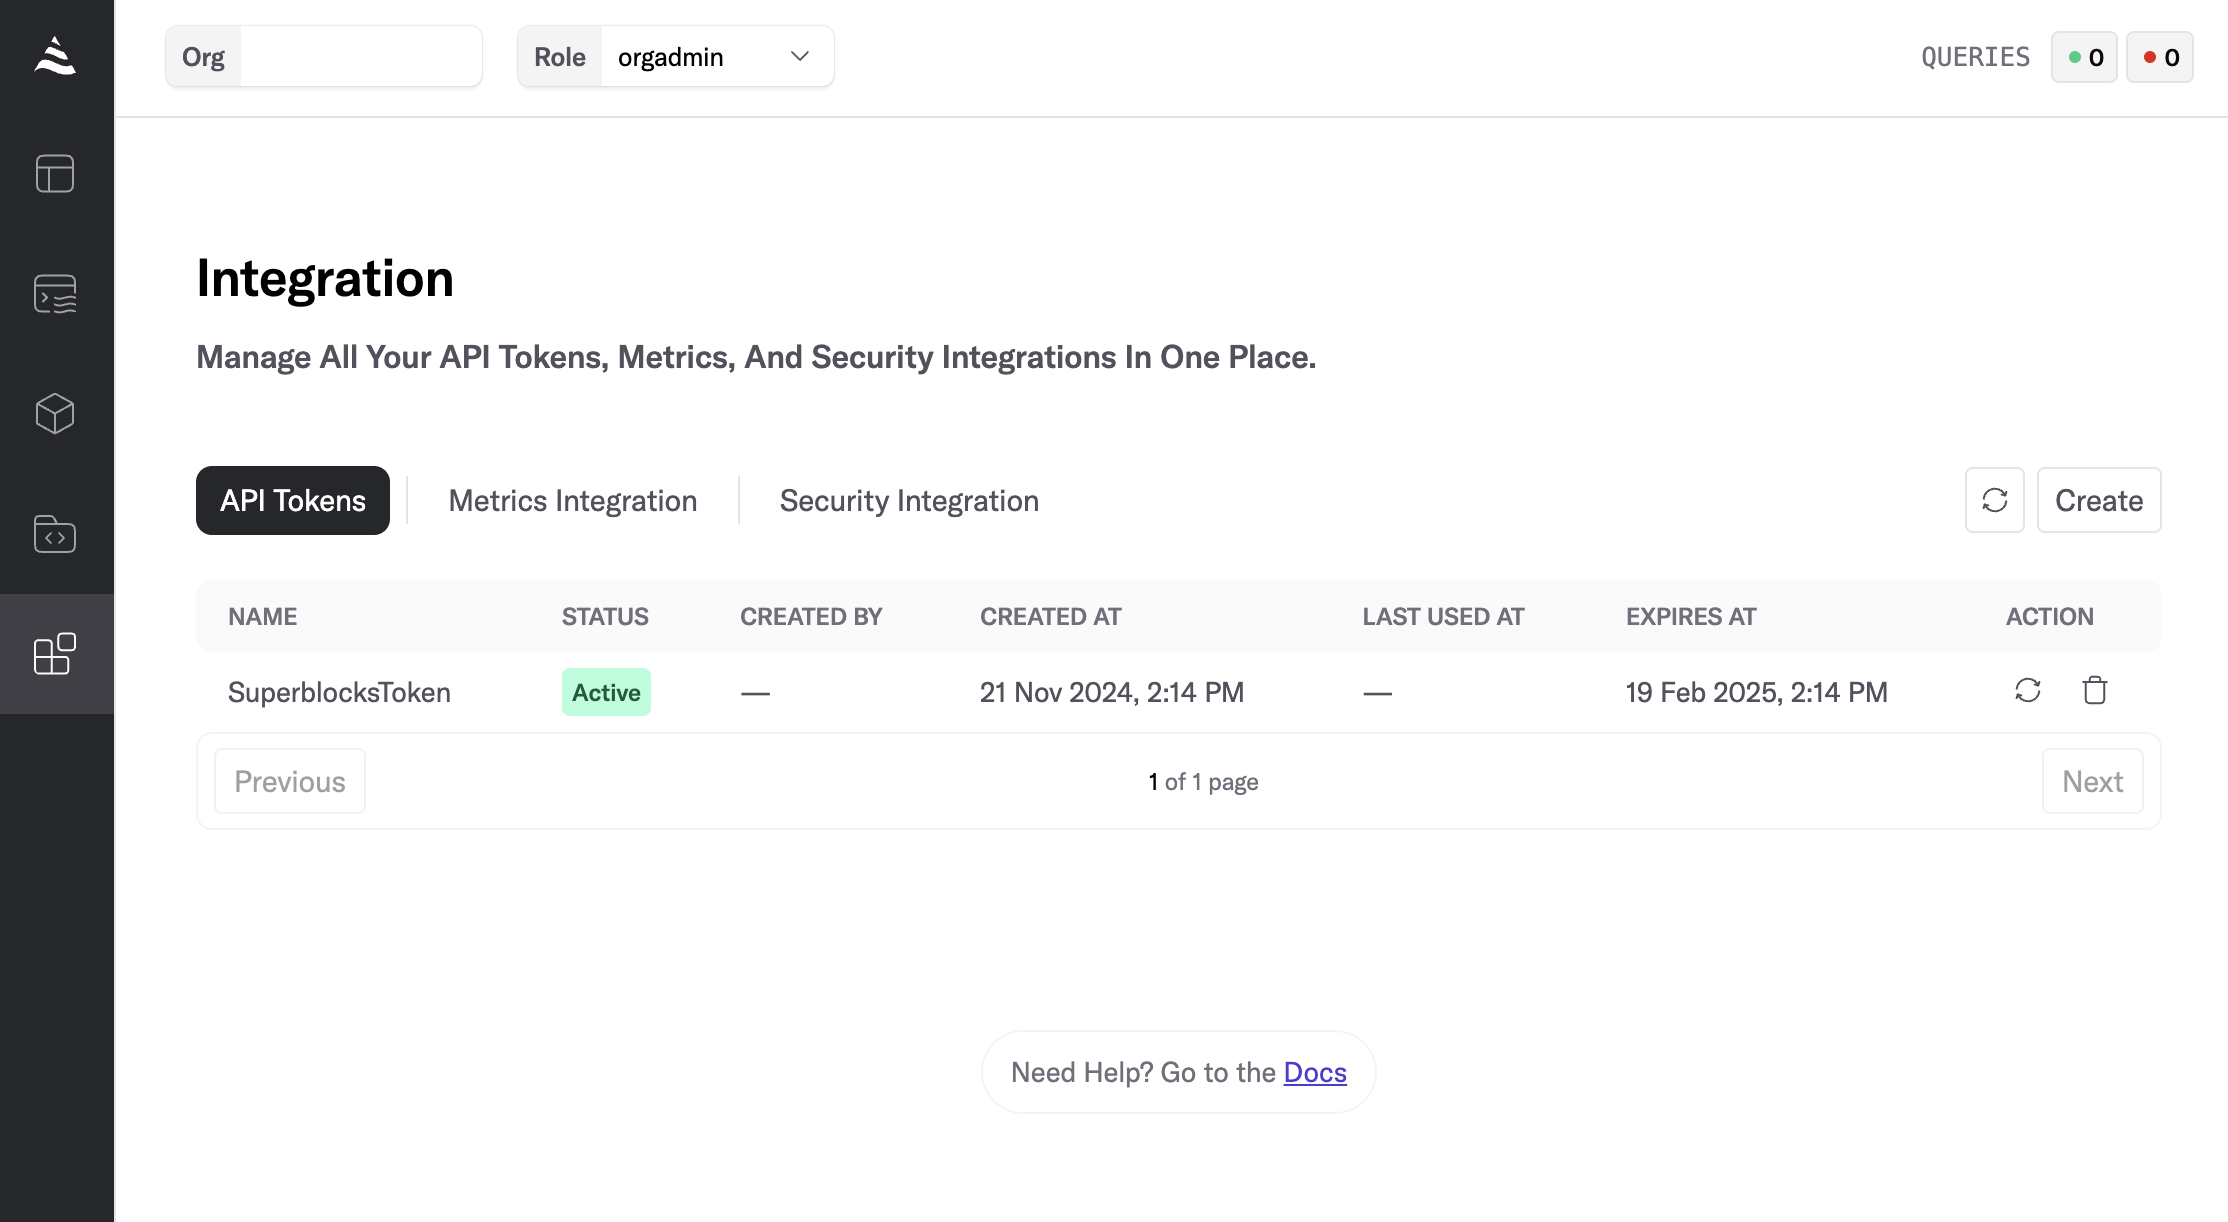
DeltaStream uses Api Tokens to authenticate third-party applications and let them run queries and access the results securely. In order to generate an Api Token, on your DeltaStream Home page, click on your avatar icon on the main navigation bar, and under your profile select the “Api Token” tab. You need to pick a name for the new token and DeltaStream will generate it for you. Let’s call our new Api Token “SuperblocksToken”. You won’t be able to access the content of a generated token once you exit this page; Therefore make sure you download the new token and save it in a safe place for future reference.
Create a Superblocks Application
Next step is creating a Superblocks application and connecting it to DeltaStream. Our new application receives the driver and car ids as inputs from the user, generates a DSQL query and submits it to DeltaStream to fetch the latest location of the car from the Materialized View. It then shows this location on a map. Login into your Superblocks account, and select the “new application” option to create one.
First step is defining the input fields. Use the “Components” panel on the left to create two input boxes, named “Driver” and “Car”, and give them proper labels and placeholders. Make sure both fields are set as required.
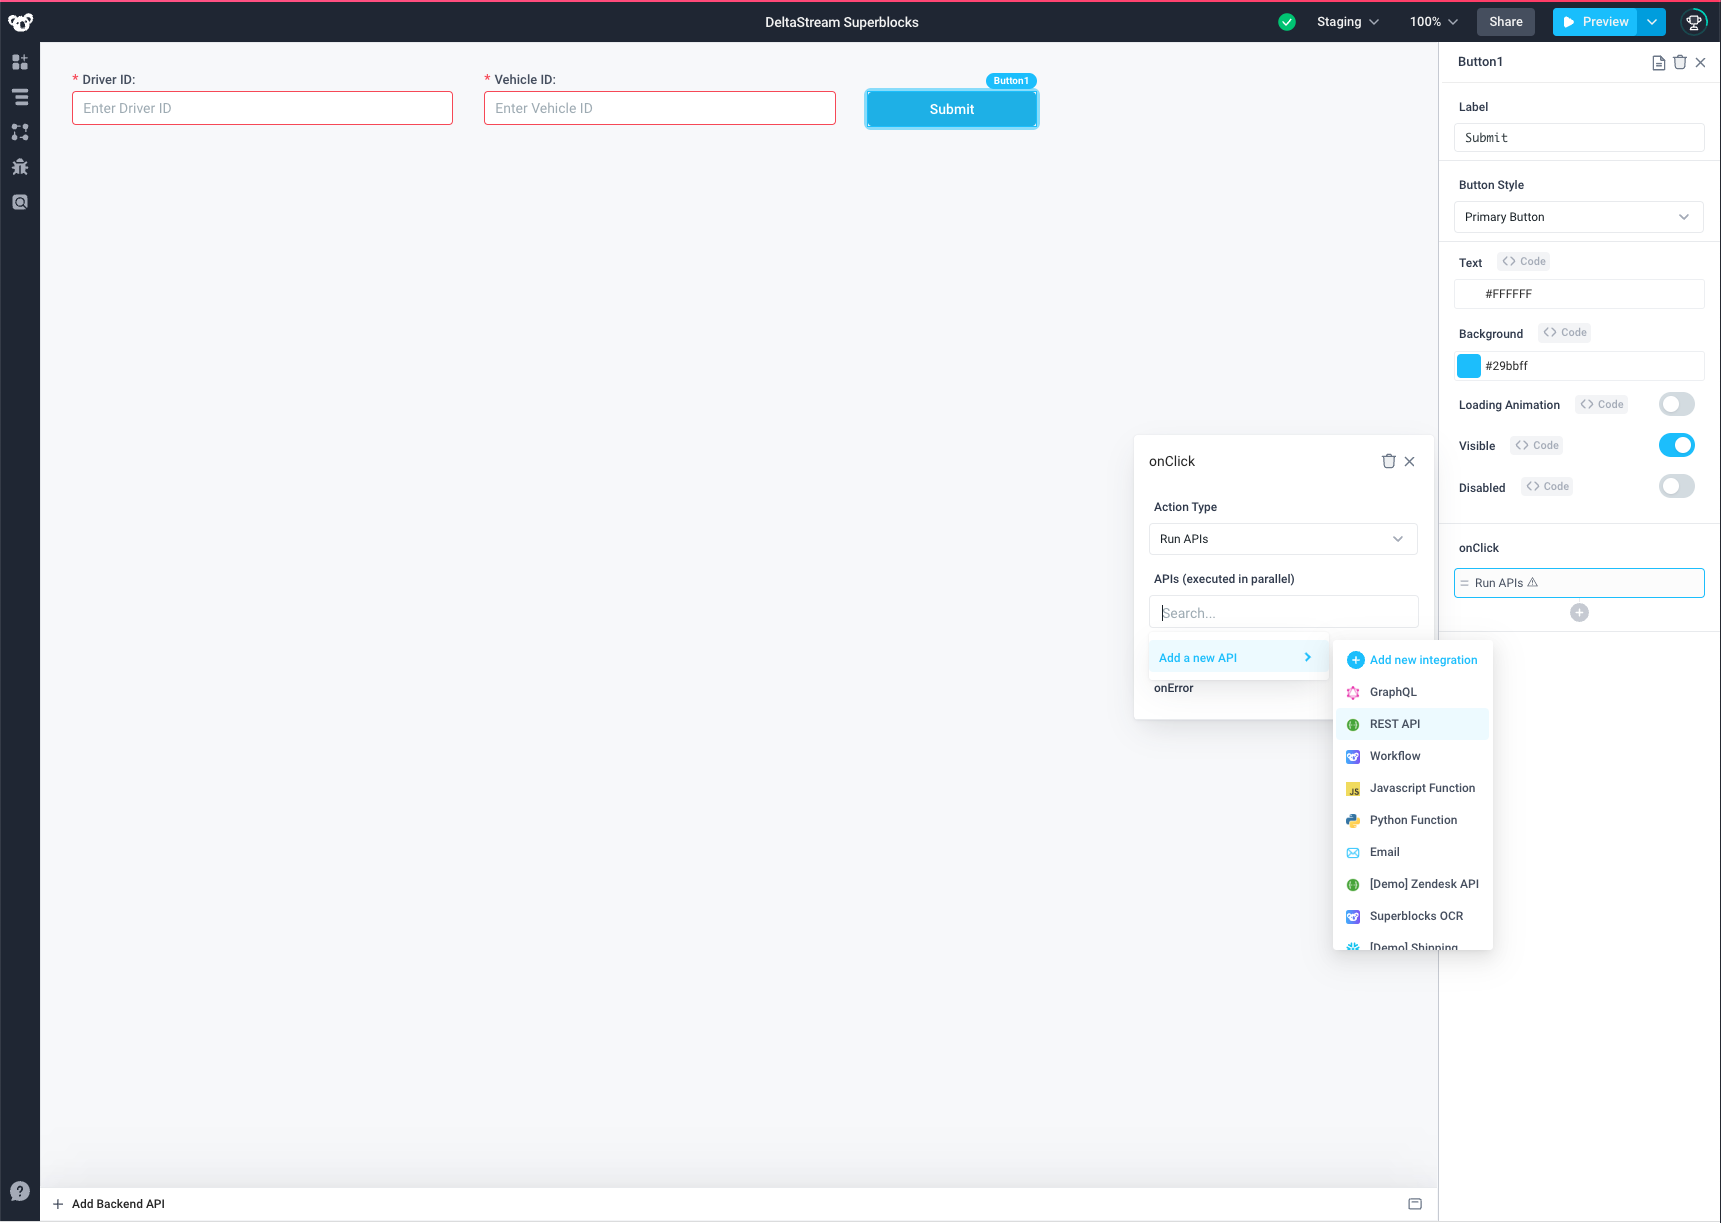
Next step is creating the “Submit” button for the application. The Submit button calls DeltaStream’s REST API to run new queries and get their results. It puts the DeltaStream API token, generated before, in the header of requests to authenticate for secure access. For this purpose, add a new button to the application and set its click handler to be a new REST API. The API should be configured as below to connect to DeltaStream:
- Method: POST
- URL: https://api.deltastream.io/run-statement
- Headers: Authorization: Bearer <YOUR-API-TOKEN>
- Body Content Type: Form
- Set Form Data as following:
- orgID: <YOUR-ORGANIZATION-ID>
- roleName: sysadmin
- storeName: <YOUR-STORE-NAME>
- databaseName: <YOUR-DATABASE-NAME>
- schemaName: <YOUR-SCHEMA-NAME>
- statement: select * from navigation_views where driver_id = ‘{{Input1.value}}’ and car_id = ‘{{Input2.value}}’;
You can check your organization ID in your DeltaStream account’s Home page. Click on your avatar icon and find it under the “organizations” tab.
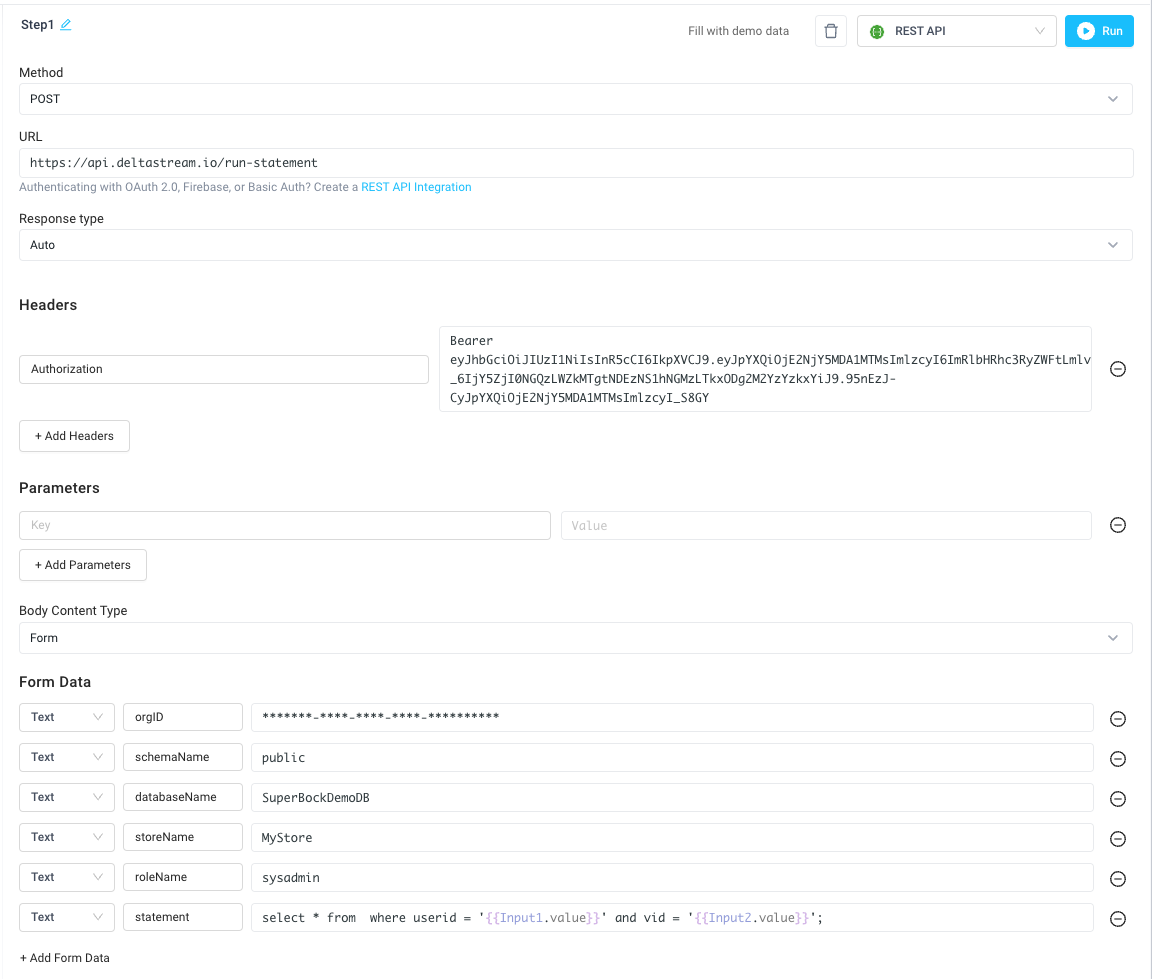
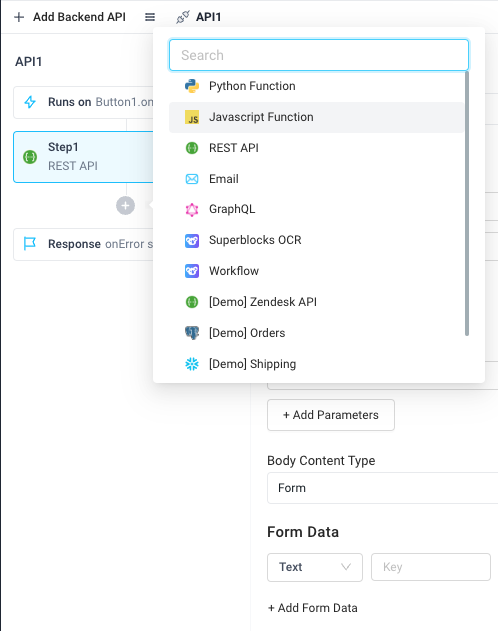
As you can see, the “Statement” defined in the above REST API configuration is the DSQL query that is generated using the input values for the Driver and Car ids. Superblocks generates this query each time the “Submit” button is clicked and sends it to the configured DeltaStream’s endpoint. Go ahead and set valid input values for the Driver and Car ids and submit a request. Once the query is run successfully, DeltaStream returns its results, wrapped in a list. In order to show the latest location of the driver, we only need the very first element in that list. We define a function to pick that element from the returned results. Click on the plus button on the left panel and select the ”Javascript Function” option. This opens a new panel with a placeholder to add code for defining a new function. Set the function code as: “return Step1.output[0].data;”.
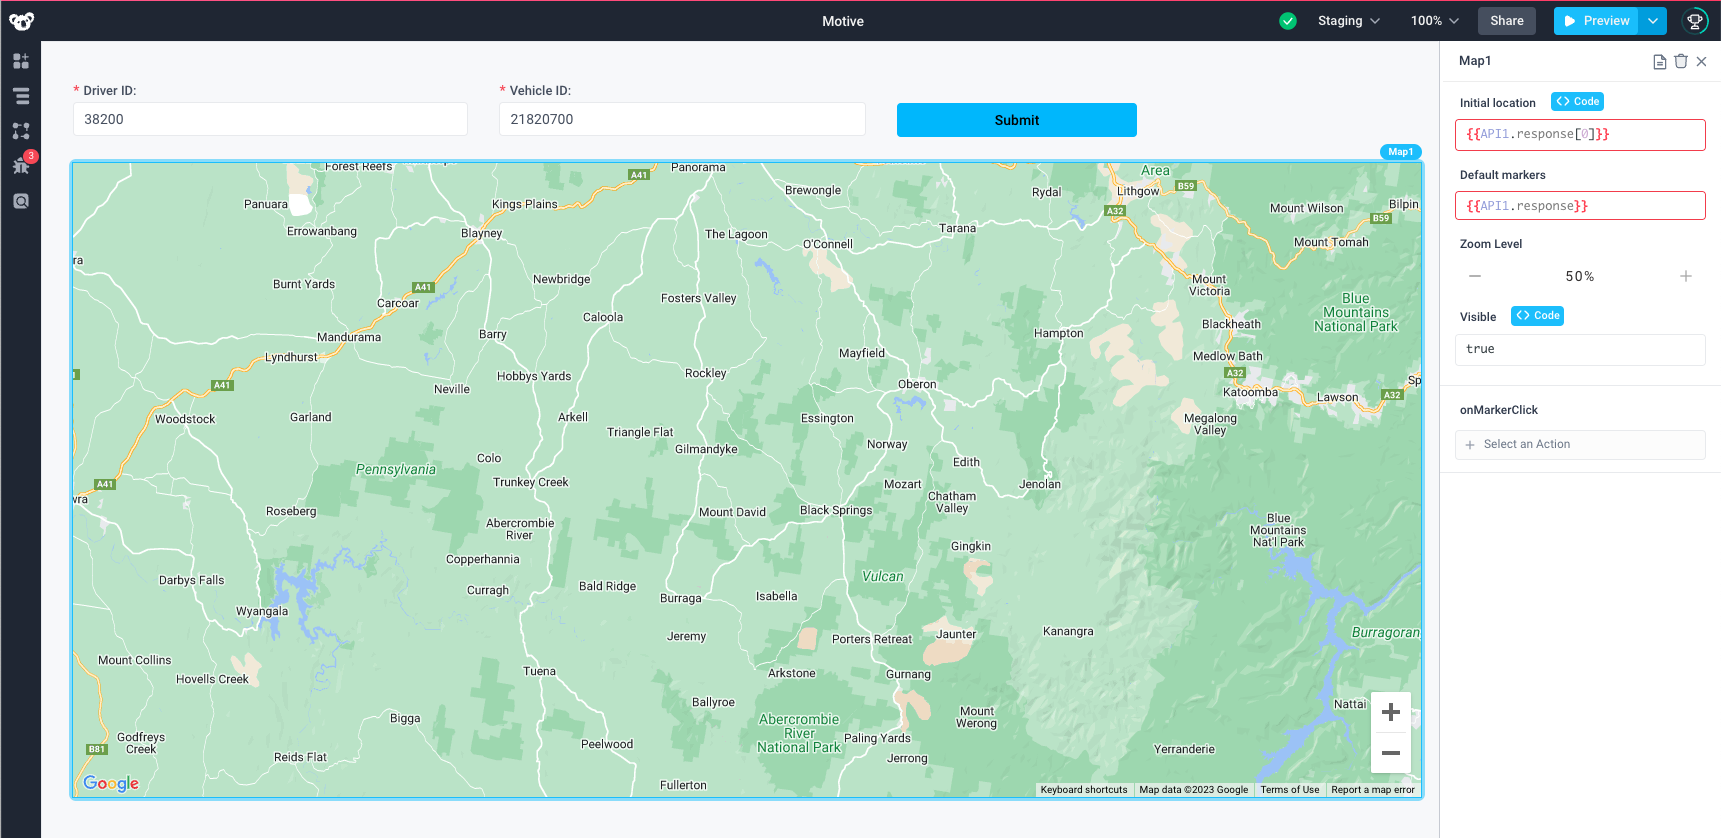
The very last step is creating a map to show the fetched location on it. For this purpose, select the “Map” option from the component panel and configure it as:
- Initial location: {{API1.response[0]}}
- Default markers: {{API1.response}}
Now, once you put valid values for the driver and car ids in the input field boxes and submit a request, the latest location of the car is marked on the map.
